No-Bake Banana Split Cake Recipe
There is something about a banana split that just feels like a hug in a bowl. But let’s be real—trying to serve actual ice cream sundaes to a group during a backyard BBQ is a nightmare. By the time you get the sprinkles on the third bowl, the first one is a sugary puddle.

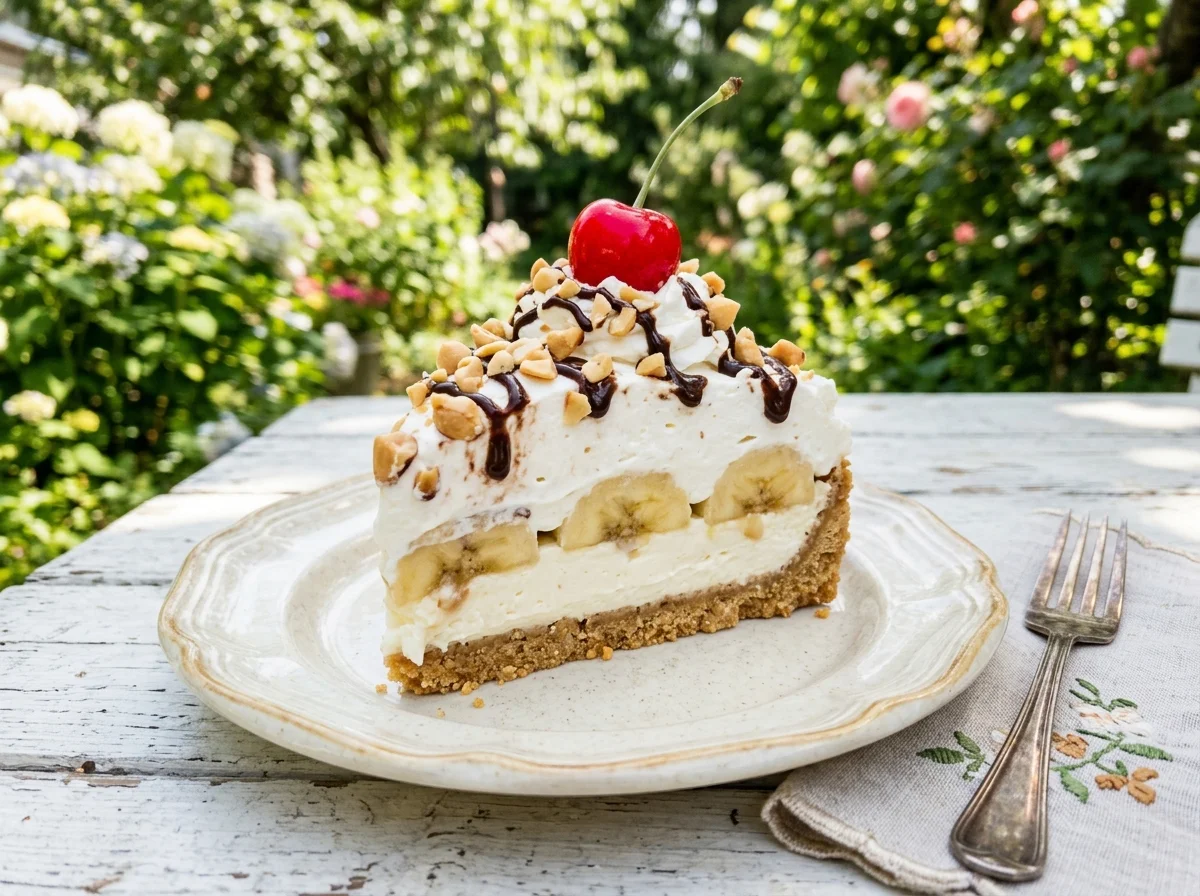
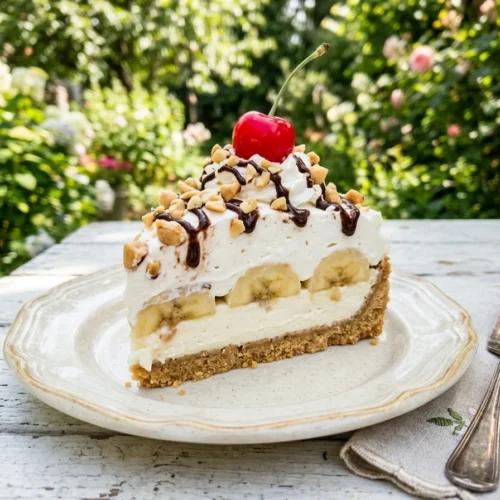
That is exactly why I’m obsessed with the no-bake banana split cake recipe. It has every single vibe of the classic sundae—the creamy filling, the tangy pineapple, the crunchy nuts, and the cherry on top—but it stays perfectly chilled in a 9×13 pan. It’s a retro “icebox” classic that’s been fueling American potlucks for decades, and for good reason. It’s easy, it’s cold, and it’s basically impossible to mess up.
If you’re already planning a menu and need more crowd-pleasers, don’t forget to check out these 25 Best Cookout Side Dishes That Will Steal the Show. But for now, let’s talk dessert.
Table of Contents
What is No-Bake Banana Split Cake?
In simple terms, it’s a banana split layered dessert. It’s not a “cake” in the traditional flour-and-eggs sense. Instead, it’s a series of chilled layers that set up in the fridge.
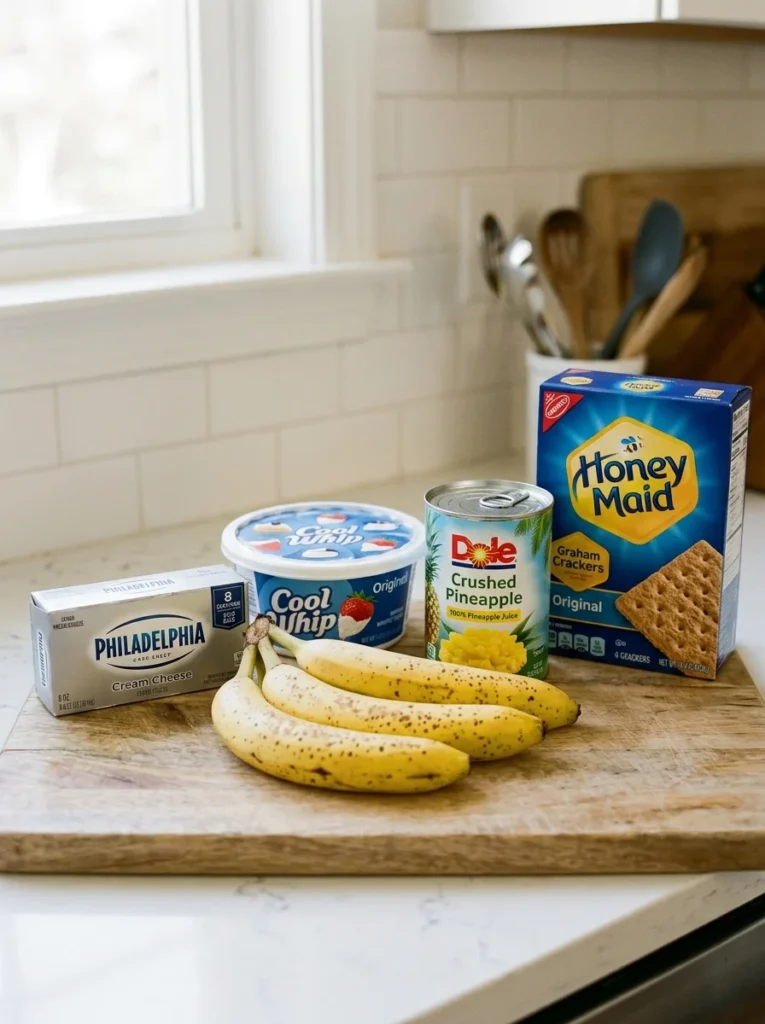
What ingredients go in no-bake banana split cake? Usually, you’re looking at:
- A buttery graham cracker crust.
- A sweet, fluffy cream cheese layer.
- Sliced bananas (the star of the show).
- Crushed pineapple (well-drained!).
- A thick blanket of whipped topping.
- The “fun stuff”: nuts, chocolate syrup, and cherries.
Do I need cream cheese in banana split cake? Yes, absolutely. The cream cheese provides the structure. Without it, you just have a bowl of fruit and whipped cream (which is fine, but it’s not cake).
How to Make Banana Split Cake Without Baking
Making this is more about assembly than “cooking.”
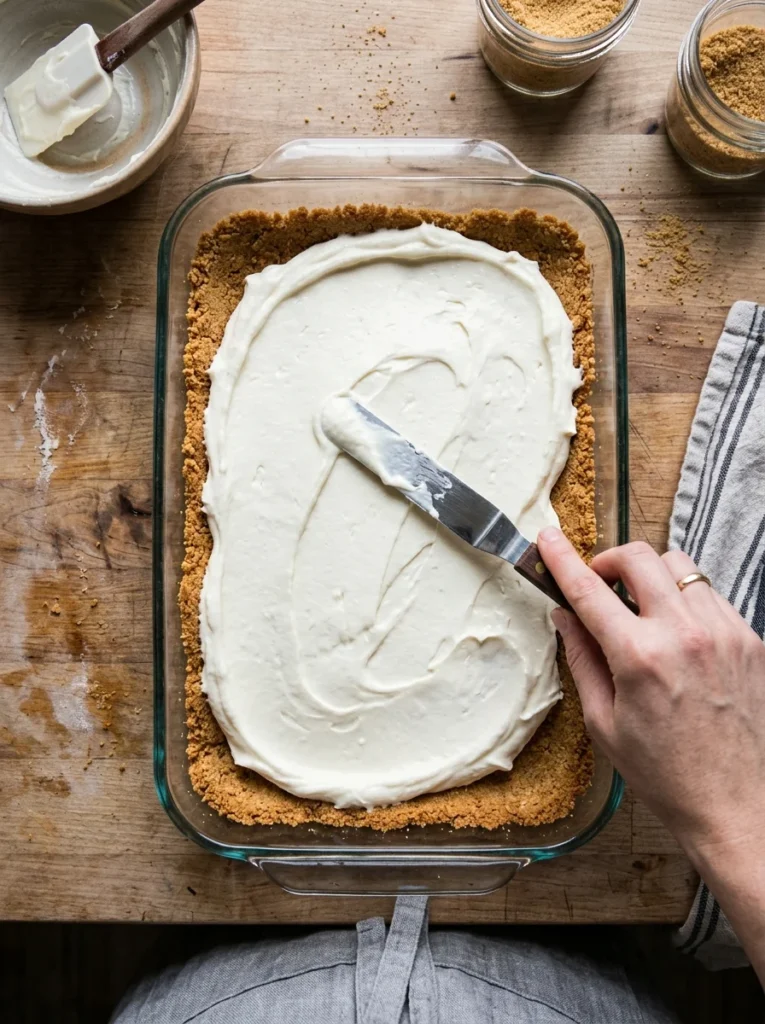
- The Base: Press a mixture of graham cracker crumbs and melted butter into a pan. That’s your graham cracker crust dessert foundation.
- The Fluff: Beat your cream cheese with butter and powdered sugar until it’s dangerously delicious. Spread that over the crust.
- The Fruit: Layer on your sliced bananas and drained pineapple.
- The Top: Smother it in Cool Whip (yes, you can use Cool Whip—it actually holds its shape better than homemade whipped cream for this specific recipe).
| Layer | Component | Pro Tip |
| Crust | Graham Crackers | Pack it down tight with the bottom of a measuring cup! |
| Filling | Cream Cheese Mix | Make sure the cream cheese is room temp to avoid lumps. |
| Fruit | Bananas & Pineapple | Drain the pineapple for at least 15 minutes. Seriously. |
| Topping | Whipped Topping | Spread all the way to the edges to “seal” the fruit. |
The “No-Brown” Secret: Keeping it Fresh
One of the most common questions I get is: How do you keep bananas from turning brown in banana split cake?
Nothing ruins a chilled banana dessert faster than grey, mushy fruit. The trick is two-fold. First, I always toss my banana slices in a little bit of lemon juice or the leftover pineapple juice before layering them. Second, the whipped topping acts as an airtight seal. If you cover the bananas completely so no air can reach them, they stay bright and yellow much longer!
Timing is Everything: Can You Make it Ahead?
Can banana split cake be made ahead of time? Honestly, you have to make it ahead of time. This isn’t a “make and eat” situation.
How long does banana split cake need to chill? I recommend at least 4 to 6 hours, but overnight is even better. This allows the graham cracker crust to soften slightly into a cake-like texture and the cream cheese layer to firm up.
How do you cut banana split cake cleanly? The struggle is real. The secret is to use a very sharp knife and dip it in hot water (then wipe it dry) between every single cut. It sounds extra, but it’s the only way to get those perfect, photo-worthy layers.
Customizing Your Layered Dessert
Can I make banana split cake without pineapple? You can, but you’ll miss that acidic “zing” that cuts through the heavy cream. If you hate pineapple, try a banana split cake with strawberries instead! Just slice them thin and layer them exactly where the pineapple would go.
Can banana split cake be frozen? Technically, yes, but the texture of the bananas changes when they thaw—they can get a bit watery. It’s much better enjoyed straight from the fridge as a cold and creamy dessert.
Conclusion: The Ultimate Party Pleaser
Whether you call it a banana split icebox cake or a banana split pudding dessert, one thing is certain: your friends will ask for the recipe. It’s a family dessert recipe that feels nostalgic and fancy all at once. Plus, it’s one of the best party dessert recipes because you can do all the work the night before and just pull it out when the grill is cooling down.
Ready to be the hero of the next cookout? Grab your graham crackers and let’s get layering!
Classic No-Bake Banana Split Cake
Zutaten
- 2 cups Graham cracker crumbs
- 1/2 cup Unsalted butter melted
- 16 oz Cream cheese softened
- 1/2 cup Unsalted butter softened (for filling)
- 3 cups Powdered sugar
- 3-4 Large bananas sliced
- 20 oz Can crushed pineapple very well drained
- 8 oz Cool Whip or whipped topping
- 1/2 cup Chopped walnuts or peanuts
- Chocolate syrup and Maraschino cherries for garnish
Zubereitung
- Mix graham cracker crumbs and melted butter. Press firmly into the bottom of a 9×13 dish. Chill for 10 minutes.
- Beat softened cream cheese, 1/2 cup butter, and powdered sugar until smooth and fluffy (about 3-5 mins). Spread over the crust.
- Layer the sliced bananas over the cream cheese.
- Spread the drained pineapple over the bananas.
- Top with Cool Whip, spreading to the edges to seal.
- Sprinkle with nuts and chill in the fridge for at least 6 hours.
- Garnish with chocolate syrup and cherries right before serving.
Anmerkungen
- Ensure the pineapple is squeezed dry using a mesh strainer or paper towels to prevent a soggy cake.
- Nutrition: Contains dairy and nuts.