Classic Homemade Sandwich Bread Recipe
There’s something truly magical about the aroma of freshly baked bread filling your kitchen. It brings back memories of home-cooked meals and family gatherings, where warm slices of bread were a staple. Making your classic sandwich bread is more than just a culinary project; it’s a way to reconnect with those comforting moments. In this comprehensive guide, you’ll learn how to create a delicious, fluffy sandwich bread from scratch that will elevate your sandwiches and nourish your soul.

Why Make Homemade Sandwich Bread?
You might wonder why you should invest time in making bread at home when store-bought options are readily available. Here are some great reasons that might motivate you to grab that mixing bowl and start baking:
Health Benefits
When you bake at home, you have complete control over the ingredients that go into your bread. This means avoiding preservatives, artificial flavors, and other commercial product additives. Homemade bread typically includes only simple ingredients—flour, water, yeast, salt, and perhaps a bit of sugar or fat—resulting in a healthier option for you and your family.
- No Preservatives: Many store-bought breads contain preservatives to extend shelf life. When you make your bread, you can enjoy it fresh without chemical additives.
- Whole Ingredients: You can choose organic or whole-grain flour, ensuring your bread is packed with nutrients.
Cost-Effectiveness
Homemade bread can save you money in the long run. While the initial cost of ingredients might seem higher than buying a loaf, one batch of bread can yield several loaves or slices.
- Bulk Ingredients: Many ingredients, such as flour and yeast, are pantry essentials that can be bought in bulk, helping to lower overall expenses.
- No Premium Pricing: Artisan bread can be pricey at bakeries; making your own allows you to enjoy gourmet quality at a fraction of the price.
Nostalgia and Connection
Baking bread connects you to generations past. It’s a timeless skill passed down through families, bringing a sense of tradition and comfort. Kneading dough, allowing it to rise, and watching it transform in the oven can be a therapeutic experience.
- Create Memories: Baking is an excellent activity to share with family and friends. As you work together in the kitchen, you can pass down your skills and create cherished memories.
- Savor the Moment: There’s nothing quite like the satisfaction of slicing into a warm loaf of bread you made yourself.

Essential Ingredients for Your Sandwich Bread
Before diving into the recipe, gather the essential ingredients you’ll need. Here’s a handy table for reference:
| Ingredient | Quantity | Purpose |
| All-purpose flour | 4 cups | Base of the bread |
| Warm water | 1 ½ cups | Activate yeast |
| Active dry yeast | 2 ¼ teaspoons | Leavening agent |
| Sugar | 2 tablespoons | Feed yeast |
| Olive oil or butter | 2 tablespoons | Adds moisture and flavor |
| Salt | 2 teaspoons | Enhance flavor |
These ingredients will set you up for success in your bread-making journey.
Flour
All-purpose flour is standard for sandwich bread, as it provides a good balance of strength and softness. You can try using whole wheat flour or a mix for a healthier alternative.
Yeast
Active dry yeast is commonly used in bread recipes, but you can substitute instant yeast. The primary difference is that instant yeast doesn’t require activation; it can be mixed directly with the dry ingredients.
Water
Warm water is essential for activating the yeast. It should feel warm—about 110°F (43°C). Too hot can kill the yeast, while too cold may not activate it.
Sugar
Sugar is not just for sweetness; it helps to feed the yeast, giving your bread a nice rise. If you want to reduce sugar intake, you can cut back slightly or use natural sweeteners.
Salt
Salt enhances the flavor of your bread and helps to regulate yeast activity. It’s an essential ingredient that shouldn’t be omitted.

Step-by-Step Instructions for Classic Sandwich Bread
Now that your ingredients are ready let’s make your sandwich bread. This recipe is simple and perfect for beginners.
Preparing the Dough
- Activate the Yeast
Combine the warm water, sugar, and active dry yeast in a bowl. Stir gently and let it sit for about 5 to 10 minutes. You should see it foam and bubble, indicating that the yeast is active and ready to work.
- Mixing Ingredients
In a large mixing bowl, combine the flour and salt by whisking them together. Make a well in the center and pour in the activated yeast mixture, olive oil, or melted butter. Stir until a shaggy dough forms. If you prefer a stand mixer, use the dough hook attachment for this step.
- Kneading the Dough
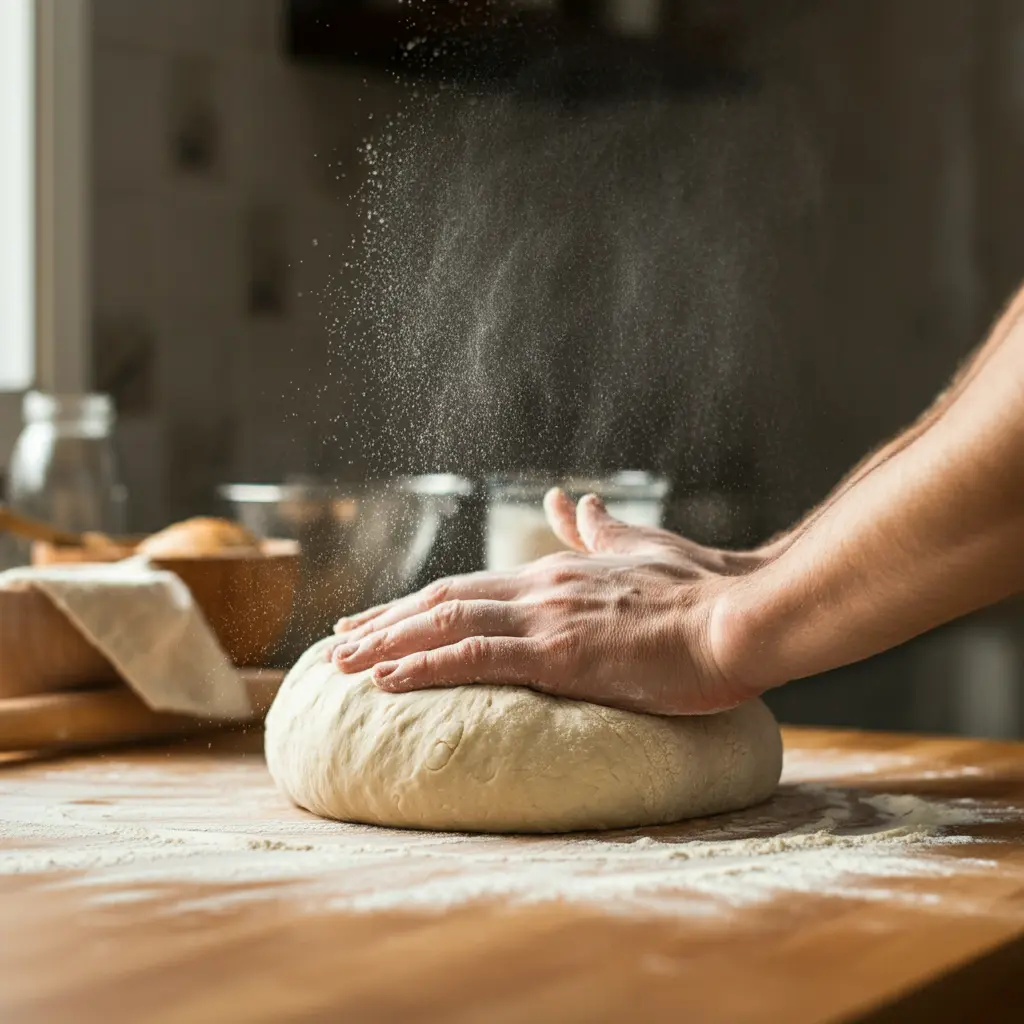
Turn the dough out onto a floured surface. Knead the dough for approximately 8 to 10 minutes, or until it becomes smooth and elastic. If it feels sticky, sprinkle a bit more flour as needed. A properly kneaded dough should bounce back when you press it with your finger.
First Rise
Once kneaded, place the dough in a greased bowl, cover it with a damp cloth or plastic wrap, and let it rise warmly. This first rise usually takes about 1 to 2 hours or until it doubles in size.
- Tip: If your kitchen is cold, you can create a warm environment by placing the bowl in the oven (turned off) with the light on.
Shaping the Loaf
- Punch Down
After the first rise, gently punch down the dough to release the trapped air. This step is crucial, as it redistributes the yeast and improves the bread’s texture.
- Shape
Turn the dough out onto a floured surface once more. Flatten it into a rectangle and roll it tightly from one long side to form a loaf shape. Tuck in the ends to prevent them from unraveling during the second rise.
- Second Rise
Place the shaped loaf into a greased loaf pan, seam side down. Cover it again and let it rise until it doubles in size, which should take about 30 to 60 minutes.
- Tip: Press the dough; if it springs back slowly, it’s ready for baking.
Baking the Bread
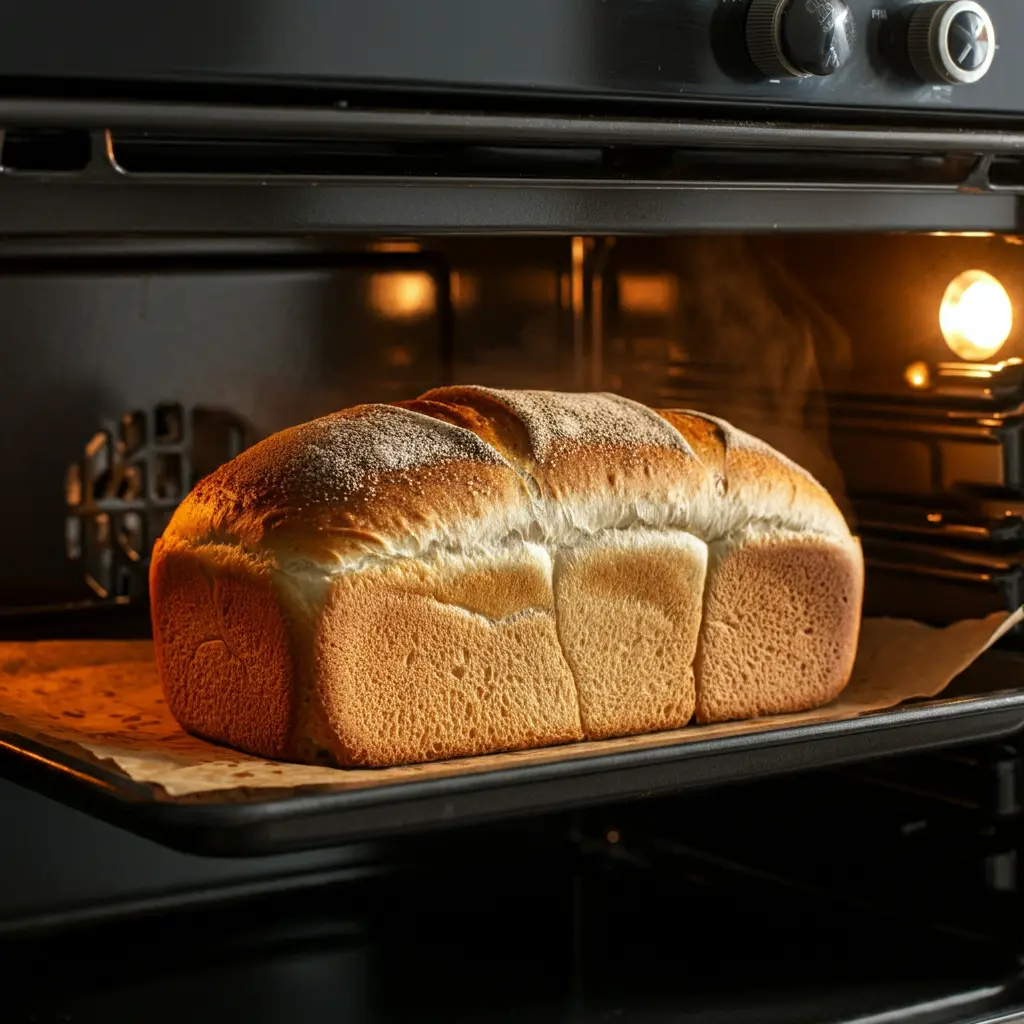
Preheat your oven to 350°F (175°C). Once the dough has risen sufficiently, please place it in the oven and bake for 30 to 35 minutes. The bread should have a golden brown color and produce a hollow sound when tapped on the bottom.
- Tip: Place a pan of water in the oven during baking for a crustier loaf to create steam.

Tips for Perfect Sandwich Bread
To achieve the best results, consider these additional tips:
- Use High-Quality Ingredients: Opt for good-quality flour and yeast to enhance flavor and texture.
- Temperature Matters: Ensure your water is warm to activate the yeast properly.
- Watch the Dough: Rising times can vary based on your kitchen’s temperature, so keep an eye on your dough rather than strictly following the clock.
Common Mistakes to Avoid
Even the most seasoned bakers make mistakes, so here are a few to watch out for:
- Using Cold Ingredients: Always use room temperature or warm ingredients, especially when it comes to water and butter.
- Skipping the Kneading Step: Kneading is crucial for developing gluten, which gives your bread structure.
- Overbaking or Underbaking: Keep a close eye on your bread in the oven to avoid drying it out or leaving it doughy in the middle.
Storing and Freezing Your Bread
Once your bread has cooled, you’ll want to enjoy it immediately! Here’s how to store it:
Room Temperature Storage
Wrap your loaf in a clean cloth or place it in a breadbox. Homemade bread should stay fresh for up to 3 days. After that, it may begin to dry out or develop mold.
Freezing
For extended storage, slice the bread and wrap it tightly in plastic wrap, followed by aluminum foil. You can freeze it for up to 3 months. When ready to enjoy a slice, simply thaw it at room temperature or toast it straight from the freezer.
Variations of Classic Sandwich Bread
Feeling adventurous? Here are a couple of variations to try:
Whole Wheat Sandwich Bread
For a healthier option, replace half of the all-purpose flour with whole wheat flour. This will give your bread a nutty flavor and a denser texture. You might need to adjust the water slightly, as whole wheat flour absorbs more moisture.
Herbed Bread
Mix fresh or dried herbs, such as rosemary, thyme, or oregano, to give your bread a flavorful twist. This variation is perfect for sandwiches or as a side with soups and salads.
Cheese and Herb Bread
Add shredded cheese and herbs into the dough before the first rise for an extra treat. This creates a delightful savory loaf perfect for sandwiches or enjoying with a charcuterie board.
Cinnamon Raisin Bread
For a sweet twist, add cinnamon and raisins to your dough for a delightful breakfast option. Mix one tablespoon of cinnamon and 1 cup of raisins into your dough during the initial mixing stage.
Frequently Asked Questions (FAQ)
What is the best way to slice homemade sandwich bread?
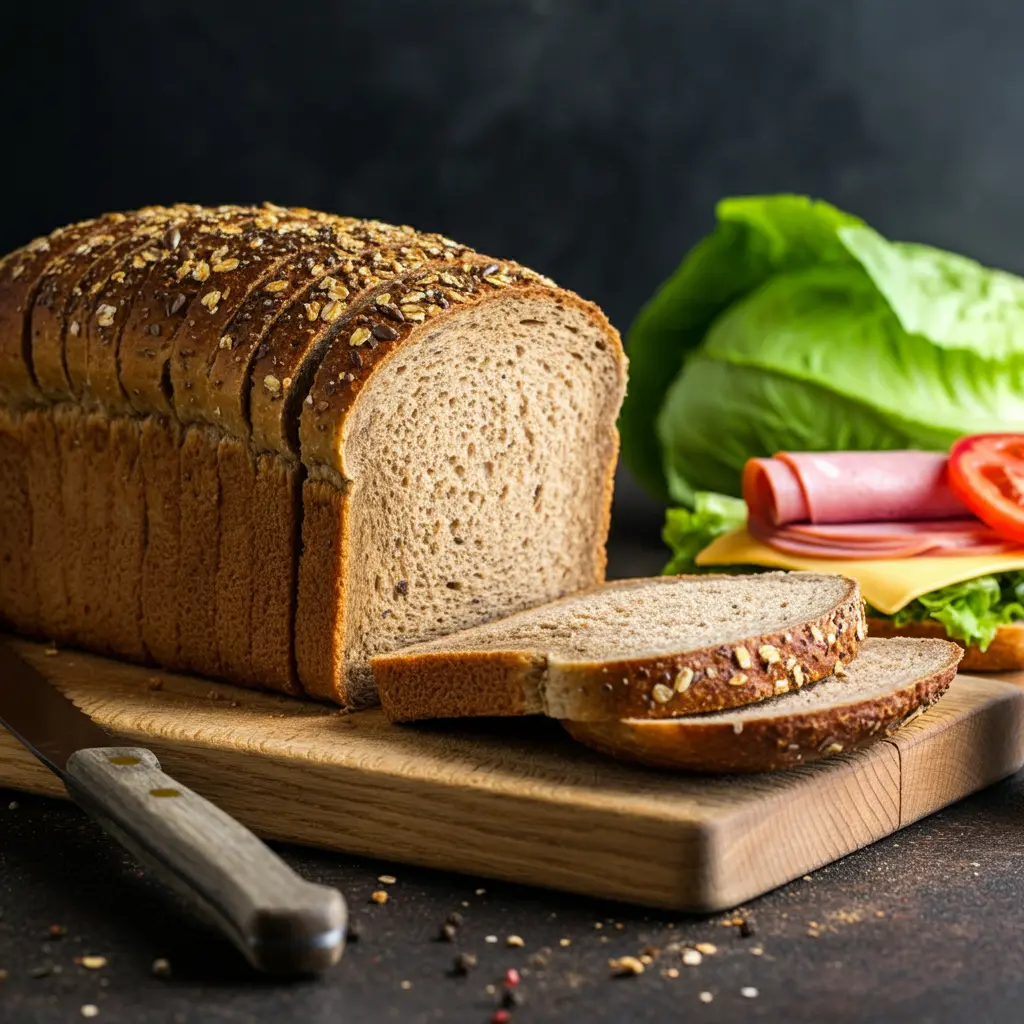
Use a serrated knife to cut clean, even slices. This will help prevent the soft loaf from squishing and give you nice, uniform pieces for sandwiches.
How can I tell when my bread is finished baking?
Your bread is done when it has a golden-brown crust and produces a hollow sound when tapped on the bottom. You can also check the internal temperature, around 190°F (88°C).
Can I use instant yeast instead of active dry yeast?
Absolutely! You can use the same amount of instant yeast without activating it first. This can save you a step in the process.
What should I do if my dough doesn’t rise?
If your dough isn’t rising, it may be due to inactive yeast or a cold environment. Ensure your yeast is fresh, and try placing your dough in a warmer spot.
How can I tell if my bread is too dense?
Over-kneading or not allowing bread to rise long enough can cause dense bread. Consider adjusting your kneading time or rising time if your bread is consistently dense.
Conclusion
Baking your classic homemade sandwich bread is a rewarding experience that fills your home with love and warmth. Not only will you enjoy the delightful taste and texture of your fresh loaf, but you’ll also create lasting memories with each slice. So why wait? Gather your ingredients, follow this guide, and embark on your baking adventure today!
Tips for Perfect Sandwich Bread
- Use High-Quality Ingredients: Good-quality flour and yeast enhance flavor and texture.
- Temperature Matters: Ensure water is warm for proper yeast activation.
- Watch the Dough: Keep an eye on rising times based on your kitchen’s temperature.
Variations to Try
- Whole Wheat Sandwich Bread: Substitute half of the all-purpose flour with whole wheat flour.
- Herbed Bread: Mix in fresh or dried herbs for added flavor.
- Cinnamon Raisin Bread: Add 1 tablespoon of cinnamon and 1 cup of raisins during mixing for a sweet twist.
Storing Your Bread
- Room Temperature: Wrap in a cloth or place in a breadbox for up to 3 days.
- Freezing: Slice and wrap tightly in plastic and foil for up to 3 months. Thaw at room temperature or toast directly from the freezer.
Baking your own classic homemade sandwich bread is a fulfilling and nostalgic experience. Enjoy the process, create lasting memories, and relish each slice! Happy baking!
If you enjoyed this recipe, please share your experiences or ask any questions in the comments below. Happy baking!
Classic Homemade Sandwich Bread Recipe

Experience the joy of making your own classic sandwich bread from scratch. This fluffy, flavorful loaf will elevate your sandwiches and fill your kitchen with the comforting aroma of fresh-baked bread.
- 4 cups All-purpose flour (Base of the bread)
- 1 ½ cups Warm water (Activates yeast)
- 2 ¼ teaspoons Active dry yeast (Leavening agent)
- 2 tablespoons Sugar (Feeds yeast)
- 2 teaspoons Salt (Enhances flavor)
- 2 tablespoons Olive oil or butter (Adds moisture and flavor)
Activate the Yeast
- In a bowl, combine warm water (about 110°F), sugar, and active dry yeast. Stir gently and let it sit for 5-10 minutes until it becomes foamy.
- Mixing Ingredients
- In a large mixing bowl, whisk together flour and salt. Make a well in the center and pour in the activated yeast mixture along with olive oil or melted butter. Stir until a shaggy dough forms.
- Kneading the Dough
- Turn the dough out onto a floured surface. Knead for 8-10 minutes until the dough is smooth and elastic. If sticky, sprinkle with a bit more flour. The dough should spring back when pressed.
- First Rise
- Place the dough in a greased bowl, cover with a damp cloth or plastic wrap, and let it rise in a warm place for about 1-2 hours, or until it doubles in size.
- Punch Down the Dough
- After the first rise, gently punch down the dough to release trapped air.
- Shape the Loaf
- Turn the dough out onto a floured surface. Flatten into a rectangle and roll tightly from one long side to form a loaf. Tuck in the ends to seal.
- Second Rise
- Place the shaped loaf in a greased loaf pan, seam side down. Cover and let it rise until it doubles in size (about 30-60 minutes).
- Preheat the Oven
- Preheat your oven to 350°F (175°C).
- Bake the Bread
- Once the dough has risen, bake for 30-35 minutes. The bread should be golden brown and sound hollow when tapped on the bottom.
- Cool and Enjoy
- Allow the bread to cool in the pan for a few minutes before transferring it to a wire rack. Slice and enjoy fresh or store as desired.
- For best results, use fresh ingredients.
- Experiment with different flours and add-ins for variations.